


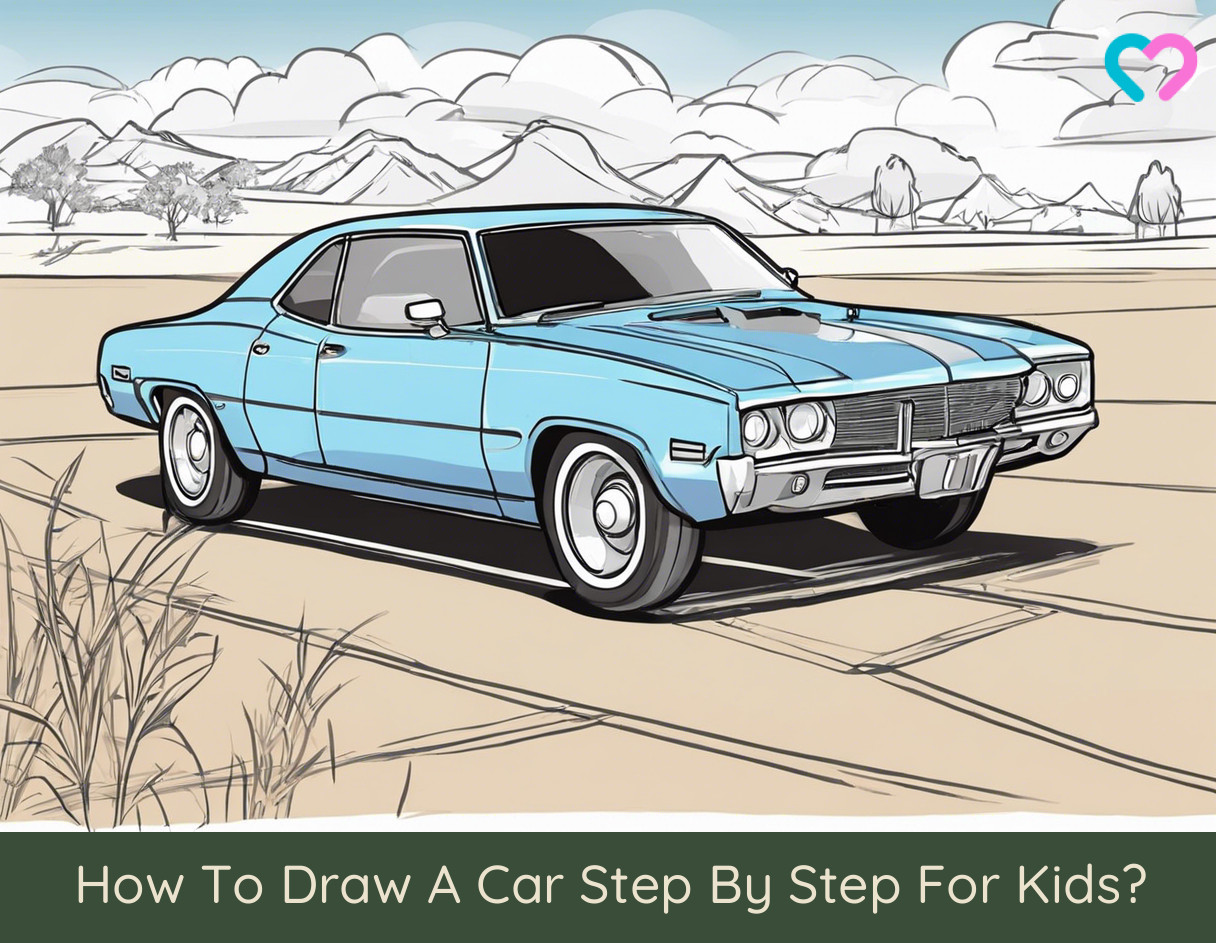
Image: iStock
Children love to explore and experiment with a color pencil and for many, drawing cars is one of their favorite things to do. We present you with a tutorial on how to draw a car step by step for kids. Most of the kids love art, crafts, and cars. So, how about teaching them to draw a perfect one? To make your job easier, here we are with a step-by-step guide on drawing several different types of cars for kids that they may usually see in fantasy movies, magazines or cartoons. So, keep scrolling through this post and teach your kid something they love to do.
Tutorial On How To Draw A Race Car

![]()
Sports cars have attractive, sleek designs, and your little artists will love to create them. Here is the dynamic sports car drawing for kids.
You Will Need:
An A4 sheet or drawing book, pencil, eraser, sharpener, stencil with different shapes, and a scale ruler.
How To:
- Take the scale ruler and draw a horizontal line on the paper. We will start the car bottom-up, beginning with the tires and taking it from there. As shown in the image, draw two circles on the baseline a few centimeters apart. Notice that the rear wheel is slightly bigger than the front wheel. This gives the car a slight inclination towards the front. See Figure 1.1.
- Draw the rims of the wheels as seen in Figure 1.2.
- Start drawing the body with a line joining the two wheels at the bottom – this line should be just a few centimeters above the baseline to keep the ground clearance low. Extend this line from the front tire for the overhangs. We will keep the overhangs short for this race car. Draw the rear overhang and complete the rest of the body as shown in the figure. Observe that the rear end is higher than the front end. See figure 1.3.
- Draw the windscreen in the front and a high airbox or engine air intake in the rear. It is high and is centered, just before the cockpit (the place where the driver sits). See figure 1.4.
- Also, draw the rear wing – one inch behind the rear intake. You will draw just a small part of the wing. Draw a small splitter in the front by adding a small wedge to the front of the car. See figure 1.4
- Continue adding details like the headlight, the side air intake, and the fuel cap on the engine cover. Begin by drawing a small circle on the engine air intake. Draw a circle around the small one to complete the fuel cap.
- Draw two parallel lines in equal proportions from right to left, starting from the front wheel. The gap between the two lines widens just a little towards the open end. Connect the two lines with two small curved lines that look like this – (). Draw a slight curve in the front (see figure 1.5) to complete the headlight.
- The final step is to add the driver’s helmet. Draw a helmet-shaped sphere in the cockpit, with a small triangle that widens in the front. See Figure 1.5
- Shading the race car yellow or red like the Ferrari 333, will give it a complete look.
Tutorial On How To Draw A 3D Car

![]()
Supercars come in many shapes and sizes. These cars have powerful engines and incredible features. In this segment, learn a real supercar drawing for kids, the MC1 SuperCar with 600bhp and stunning bodywork.
You Will Need:
An A4 sheet or drawing book, pencil, eraser, sharpener, stencil with different shapes, and a scale ruler.
How To:
- Draw a horizontal line at the bottom of the sheet. This is the base. Draw two ovals on either end of the line, 3-4 centimeters apart from each other, for the wheels. See Figure 2.1.
- Draw a line below the two wheels, and extend it for the overhangs. Use that line to draw a rectangle for the body, as shown in Figure 2.2.
- Draw the cabin on the body – it should be slightly curved but not too high. Slightly curve the hood and the trunk of the car – use a pencil and an eraser to draw this part, until you get it right. The curve is what makes the car stylish, as shown in Figure 2.3
- Extend the image by drawing lines as shown in Figure 2.4. Join the lines to create the windscreen, window, a bumper in the front, door, and the rear wind.
- Add the finer details next. Draw the outline for the wheels; add the rims of the wheels, door handle, number plate, the side-view mirror, head lights, indicators and the gas tank (lid). Figure 2.5
- Color the car to complete it.
Tutorial On How To Draw A Muscle Car

![]()
A muscle car is a high-performance car with a powerful engine and a solid body. In this tutorial, we will learn how to draw the first generation Dodge Challenger, a popular muscle car that was manufactured in the late 1950s.
You Will Need:
An A4 sheet or drawing book, pencil, eraser, sharpener, stencil with different shapes, and a scale ruler.
How To:
- Draw a horizontal line for the base. Muscle cars have a wider wheel base, a longer hood, and trunk. Draw two circles on the base – the first one on the right-end of the baseline and the other in the center, as shown in Figure 3.1. The wheels have to be of the same size. You can use a stencil to ensure that.
- Draw the base of the car – draw a line connecting the wheels (not passing through them) and extending to the sides for the front and the rear overhangs. Complete the wheels and add another wheel in the front, by drawing a semicircle and a small curved line to its left, connecting the bottom of the hood and the ground. See Figure 3.2.
- The next step is to draw the body. Muscle cars have a particular shape – they are slender and slightly angular. Start by drawing the long overhangs of the car and move on to create the connected waistline, which is slightly higher from the ground (baseline). Observe that the lines are not fully connected at the end. See Figure 3.3.
- In the third step, draw the doors, windows and a line indicating the trunk. See Figure 3.4. Notice that the line passing through what is the door does not go till the end.
- Next, draw a rectangular grill on the front of the car. Draw a line at the top, from the window to the left to create the windscreen frame. Draw a line parallel to this to complete the hood. Two perpendicular lines on the hood indicate the curves/bumps on it. Figure 3.5.
- Add lights on each corner of the grille and two fog lights below the grill. The grill has a bumper attached to it at the bottom. Add indicators as illustrated in Figure 3.5.
- Complete the car by adding subtle details like side-view mirror and door handles. Color it as shown in Figure 3.6.
Tutorial On How To Draw A Cartoon Car

![]()
Cartoon cars are fun, especially for kids. Unlike the regular kids’ drawing cars – a cartoon car has eyes, nose and mouth. What’s more, it smiles too! So here is how your child can draw a cartoon car in a few steps.
You Will Need:
An A4 sheet or art book, pencil, eraser, sharpener, stencil with different shapes, and a scale ruler.
How To:
- Let’s start with the car’s eyes, nose, and mouth. Start by drawing two small circles, a few centimeters apart, on the right-hand side of the page. Draw another tiny circle inside each circle – the smaller circle is to the left of the larger circle and dark. This forms the eyes, which also act as the headlights. A little below the eyes, just between them, draw three small lines to form the nose. A little below the nose, draw a banana shaped mouth, as shown in Figure 4.1.
- For the body of the car, start with the bumper – a bigger banana shape under the mouth. From the right end of the bumper, draw the body as shown in the image. Add the base of the car, connected to the left corner of the bumper, with a provision for the wheels. See Figure 4.2.
- Make the wheels by drawing two circles in the space where they go. Draw a trapezoid, with the body as the base, with one end on the center of the hood and the other on the trunk as shown in Figure 4.3.
- Draw the lining for the hood. Draw a line to divide the trapezoid into two for the windows. A rectangle right below the window will make the door.
- Draw the steering and a partial semicircle for the third wheel to complete the base of the 2D car. See Figure 4.5.
- Color it to complete it!
Tutorial On How To Draw A Sports Car

![]()
Sports cars have attractive sleek designs and your little artists will love to create such one. Here is the dynamic sports car drawing for children.
You Will Need:
An A4 sheet or drawing book, pencil, eraser, sharpener, stencil with different shapes, and a scale ruler.
How To:
- Start by drawing a large oval for the body of the car. This will be the base for your drawing and should not be dark or stressed. Observe that the shape of the body is not exactly round or square. Figure 5.1.
- Draw the hood of the car by drawing a semi-oval from right to left, starting from the oval. See Figure 5.2.
- Draw the windscreen, window, and the side-view mirror. The design of this sports car is curvy, so see that the shapes are not angular, like in a muscle car. See Figure 5.3.
- Complete the body of the car by extending the semi-oval shaped body you drew earlier. You should get an image as illustrated in Figure 5.4.
- Draw the finer details in the front to indicate the hood of the car. Figure 5.5.
- Add the three wheels, the rims of the wheels and the headlights. Notice that the front wheel is slightly angled to the right – a slight bend (almost invisible) in the circle you draw can help you get this effect. Figure 5.6.
- Draw the door, and darken the outline of the car to finish it. See Figure 5.7.
- Color the car in red, the wheels in black and the headlights in pale yellow. Your sports car should look as shown in Figure 5.8.
Tutorial On How To Draw A Police Car

![]()
Chances are your boy already owns a toy police car, complete with flashing lights on top and a deafening siren that goes off every time the car moves. Here is how he can draw a simple police car with flashing lights on the top.
You Will Need:
An A4 sheet or drawing book, pencil, eraser, sharpener, stencil with different shapes, and a scale ruler.
How To:
- Draw a straight line for the base and two circles for wheels on it. Figure 6.1.
- Draw a line between the two wheels, a little above the baseline. Extend the lines just a little beyond the wheels but not through them. Bend them up for the rear and front bumpers. Form a rectangle using that line as the base for the body of the police car. See Figure 6.2.
- Draw the cabin of the car – a trapezoid with the rectangle as the base. The cabin should start from the edge of the rear wheel and end at the edge of the front wheel. See Figure 6.3.
- Draw a line as shown in Figure 6.4 for doors and windows.
- Add the tail lights, headlights, door handle and the rims of the wheel to complete the car.
- Color it blue and black, and your police car is ready.
Tutorial On How To Draw A Supercar

![]()
Supercars come in many shapes and sizes. These cars have powerful engines, exhaust, and incredible features. In this segment, learn a real supercar drawing for kids, the MC1 Super Car with 600bhp and stunning bodywork.
You Will Need:
An A4 sheet or drawing book, pencil, eraser, sharpener, stencil with different shapes, and a scale ruler.
How To:
- Draw a slightly curved line in the center of the page, for the base of the car. Add two circles at either end of the line and extend the lines a little to complete the base. The wheels are made up of two circles – a bigger circle and a smaller one inside it. See Figure 7.1.
- Sketch the body of the car – extend the baselines of the car upwards by an inch at both ends. Join the two vertical lines with a curved line to complete the body of the car. See Figure 7.2
- Add the bumper to the front – a small bump at the edge of the body should do. Add windows to the car by drawing flat triangles as shown in Figure 7.3.
- Draw a curved line starting a little before the window’s bottom corner and bring it down, parallel to the car’s base. Draw a small trapezoid starting from the left wheel and ending at the rear wheel – it should not be too high. Add the vent by drawing two ‘S’ shapes that connect to the rear wheel. Complete the finer details to indicate the trunk and rear lights. See Figure 7.4.
- Draw lines across the windows, the side of the vehicle, and the vent. Extend the vent line (line attached to the ‘s-shaped vent) over the front and rear wheel for highlighting the base. See Figure 7.5.
- Color the wheels, rims, rear windscreen, windows and the vents to complete the 2D MC1 Super Car.
Tutorial On How To Draw A Flying Car

![]()
Flying cars may not be a reality yet, but they do fascinate your little learners. The final tutorial on flying car drawings for kids in simple steps.
You Will Need:
How To:
- Draw a dome or a semi-circle in the center of the paper. This will be the roof/cover of the flying car.
- Starting from the left corner of the dome, draw a slightly curved line towards the other end – but do not join it on the other end. See Figure 8.2.
- Now, draw the body of the car using the dome as the center. Draw an oval, curvy body around the dome – notice that there are a few curves on the sides and the front of the body, for the seats and the bumper. See Figure 8.3.
- For the wings of the car, draw two curvy triangles at the back, as shown in Figure 8.4.
- Draw a line on the hood to indicate the hood, and across the cockpit for the seats.
- Add more detail to the car by drawing an oval in the front for the bumper and a circle each on either side for the headlights. See Figure 8.5.
- Also, draw three dotted (thin) lines joining the windshield and the front bumper. See Figure 8.5.
- Add detail by drawing a broad, curved ‘v’ on the side.
- Now draw the dashboard – two thin lines coming inside from the windshield. Add a steering and an outline to the wings to complete the flying car.
- Color it as you like.

Frequently Asked Questions
1. How can I make the learning process of drawing a car for children fun and engaging?
Remember not to scold or upset the child if the drawing is not as good as expected. You can also ensure the drawings are age appropriate and the children are given enough space to be creative and experimental.
2. How can I help my child avoid making mistakes while drawing a car?
It is okay if your child makes mistakes while drawing. You can always encourage them and be supportive. Practicing drawing regularly will eventually help them stop making mistakes.
Cars are one of the favorite automobiles of many children. Hence in this post, we have given a few easy steps on how to draw a car step-by-step for kids. Each type of car has a specific design; hence we have given tutorials for some car varieties. Each of these fun tutorials starts with a few basic shapes, which eventually progress toward the complex design of a car. Your child will need a blank piece of paper, a pencil, and a few colored pens to be all set to draw cars. So grab the essentials, read out the tutorials, and let their creativity take the lead in drawing the car of their dreams.
Key Pointers
- Keep the materials, such as an A4 sheet, pencil, eraser, sharpener, stencil, and ruler, handy for your convenience.
- Start with the most basic and easy design first. Once your child has mastered the easy drawings, move on to the complicated designs.
- Before adding new specifications to the car, practice drawing them separately.
Infographic: Simple Methods To Draw Cars For Children
Cars are one of the first things children learn to draw, as there are some easy methods to draw a car using simple shapes and lines. Look through the infographic below for some ideas to draw a car. These ideas include step-by-step instructions for each drawing that your child can easily follow.

Illustration: Momjunction Design Team


Learn the easiest method to sketch a car with this simple tutorial by following the step-by-step instructions.


