Image: Shutterstock
It’s all about having a good time at a kid’s party, and if you could combine fun with learning, it would be like feeding two birds with one scone. So why not try some interesting party crafts for kids? Let the kids team up with their buddies and unleash their creativity with art and crafts. Making a supply list, choosing a party venue, and deciding on a theme can be taxing. So leave the craft ideas to us. In this post, we’ll go over several craft ideas perfect for any birthday celebration and give you some pointers on how to throw an epic kid’s craft party.
Key Pointers
- Birthday party crafts are a great way to liven up the mood and keep the guests engaged.
- Choose the party location and space considering the number of guests.
- Paper lantern jars, cardboard handbags, and photo booth props are a few craft ideas.
How To Manage A Crafts Party For Kids?
Children love crafts, and having a crafting activity at a birthday party is a great way to ensure they have fun, learn something new, and go home with something they’ve made. However, you must follow a few steps to achieve these outcomes. Here’s what you need to do:
1. Choose appropriate crafts
Know your audience. Consider the age group of the children participating, their common likes and dislikes (if you know any specific), and the crafts that would interest them. For instance, if the kids are less than 5 years old, do not plan any craft that requires the use of scissors or sharp-edged objects, and if they are toddlers, don’t keep beads or small decorative items as they present choking hazards. Choose an activity that children can do on their own, meaning it should be simple and require less time for completion. If you have children of different age groups, you may need to include different crafts. Try teaming up an older kid with a younger one, and let them help each other complete the craft while having fun.
2. Stock up on supplies
Make a list of supplies and decoration materials needed for the crafts party, such as balloons, banners, and colorful streamers. Ensure you stock up on everything before the party. Separate the list according to which items can be shared and which need to be used individually. Keep extra supplies if possible, as kids tend to break or misplace things.
3. Try making the craft yourself
Sometimes, a craft may look simple to you but can be complicated for children. You must put yourself in your child’s shoes to determine if the craft is easy or difficult. For instance, a time-consuming art that requires multiple supplies and constant adult supervision may not be suitable for a kids’ crafts party, such as woodwork, sewing, or soap carving. So try the craft yourself, and then choose an easy one, such as coloring or fingerprinting.
4. Choose a perfect location
Determining the number of guests can help decide the space needed. The season and the weather conditions should also be factored in while deciding a place for the party. An outdoor location, such as the terrace or backyard, is a perfect party location – ensure you have tents set up. You can also have the party indoors on a chilly or rainy day.
20 Party Crafts For Kids
Including a crafting activity at a kids’ party is an entertaining and budget-friendly option. In addition to keeping children engaged, craft activities boost their confidence and reduce stress and anxiety in an unfamiliar environment (1) (2). They also encourage teamwork and aid their cognitive development (3). Choose any of the following crafts based on the children’s age and interest to ensure they have fun at the birthday party.
1. Paper bag stars
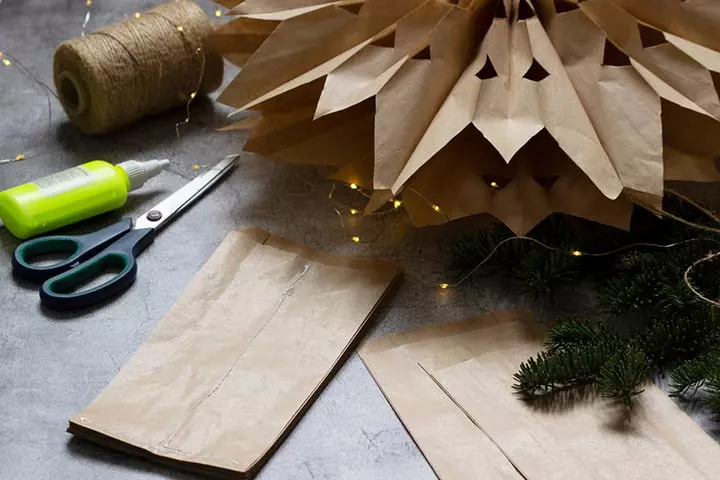
Materials needed
- Paper bags
- Scissors
- Glue
How to
- Spread open a paper bag like a sheet.
- Cut it into squares of the required size.
- Cut the squares in the shape of a star.
- You may color the stars to make them look attractive and use them to decorate your Christmas tree.
2. Party hats
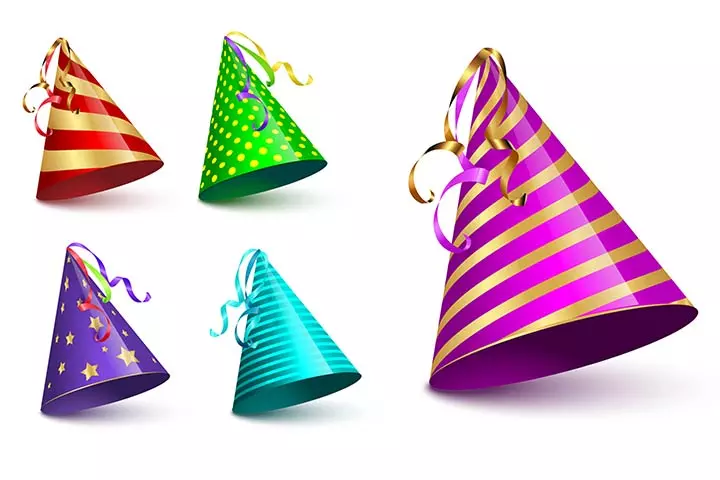
Materials needed
- Thick paper
- Pom pom balls
- Glue
- Decorative items, like ribbons and different-shaped paper cut-outs
How To
- Fold the paper into a cone shape and glue it.
- Glue pom pom balls, ribbons, and paper cut-outs to complete the party hat.
3. Masks
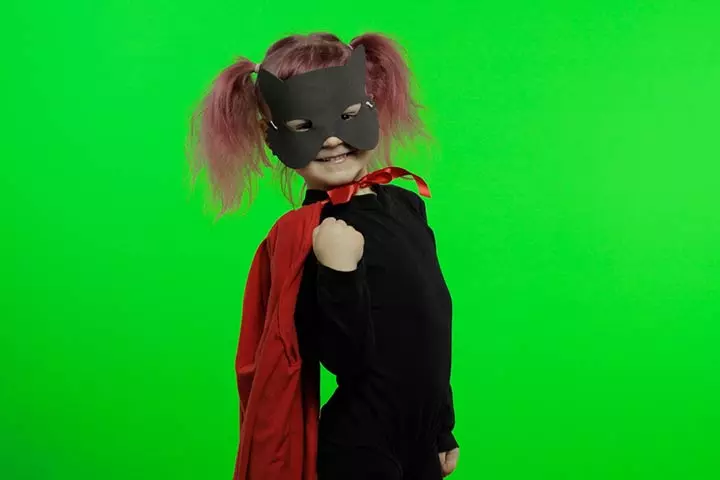
Materials needed
- Colorful paper
- Elastic rubber bands
- Scissors
How to
- Cut the paper into the shape of an eye mask, mouth mask, or face mask. Create space for the eyes and the nose using scissors.
- Tie the ends with elastic rubber bands, and your mask is ready.
4. Lanterns
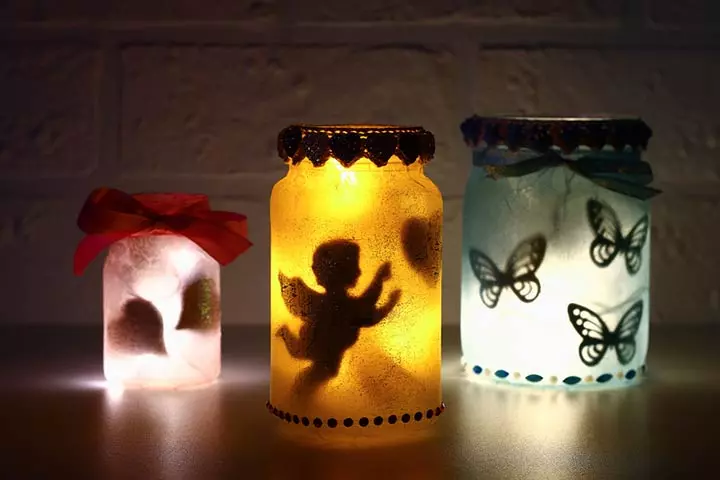
Materials needed
- Empty jars
- Stickers
- Glue
- Magic glitter pens
- Fairy lights
How to
- Glue some stickers on the jars.
- You may even paint on the jars with a magic glitter pen.
- Put the fairy lights inside the jars and switch on the lights. The cute lanterns are ready.
5. Paper plate crowns
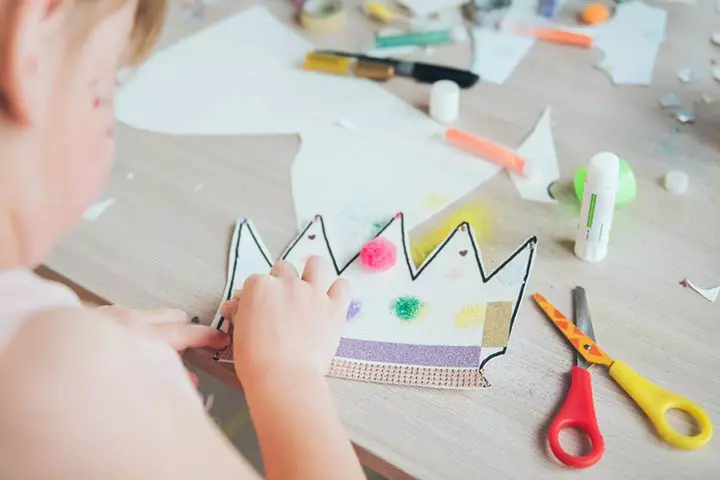
Materials needed
- Card stock
- Scissors
- Glue
- Optional stickers or pom pom balls
How to
- Cut the card stock into two rectangular pieces.
- Cut one a rectangle piece to give it a crown-like appearance. Repeat the process for the other piece too.
- Glue the ends of the two rectangular pieces to form a crown.
- You can add some pom pom balls or star stickers to it or paint it.
 Quick tip
6. Party headbands
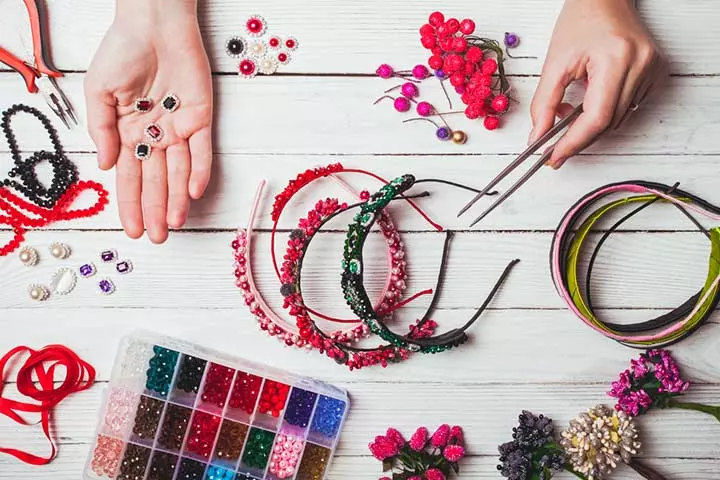
Materials needed
- Plastic headbands
- Beads
- Glue
How to
- Glue the colorful beads into the plastic headbands, and your party headbands are ready.
- You could also add some ribbons to make them more interesting.
7. Table pen stand
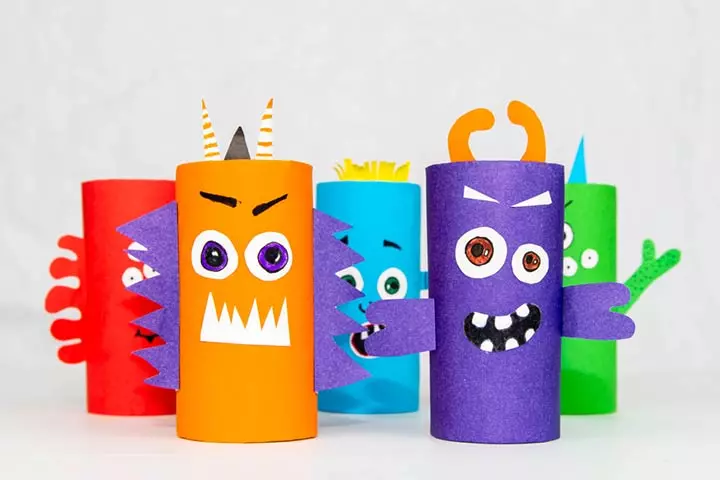
Materials needed
- Pringles boxes or toilet paper rolls
- Colorful paper
- Ribbons
- Optional stickers or paper cuttings
How to
- You may use an empty Pringles box or a toilet paper roll.
- Cover it with colorful paper or ribbons.
- Add some stickers or paper cuttings to it to make it look more lively.
- This can be placed on the kids’ study table.
8. Clothespin characters
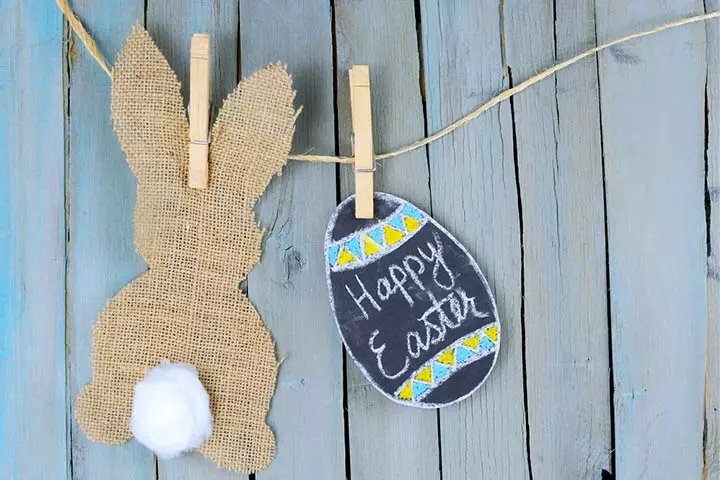
Materials needed
- Colorful paper
- Scissors
- Clothespins
- Glue
How to
- Cut the paper into the shape of cute characters, such as bunnies, cats, or any cartoon character of your child’s choice.
- Clip the characters with the clothespins and hang them wherever your child wishes.
9. Polka dot vase
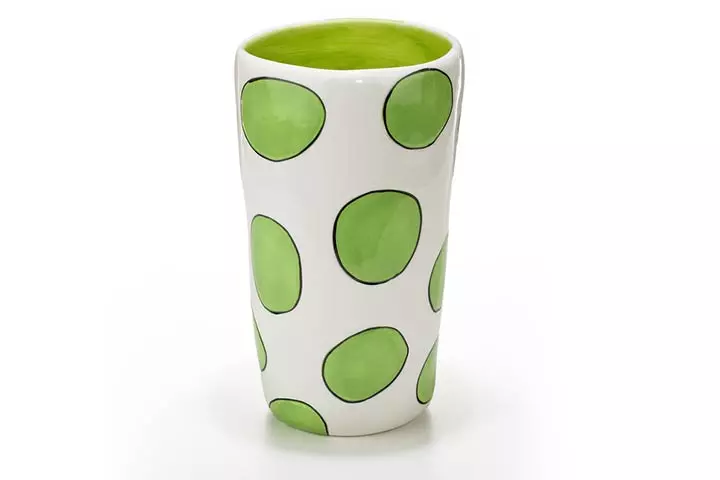
Materials needed
- Small, empty, and unbreakable vases with no designs
- Circle cutters
- Paint
- Brushes
- Tissue papers
How to
- Mark circles on the vase, and paint the circles.
- Allow the paint to dry completely, and — ta-da! — the polka dot vase is ready.
- You may also use tissue paper balls.
- Dip the balls in the color of your choice, and emboss them on the vase. This will help you add some texture to your colorful dots.
10. Candy bracelets
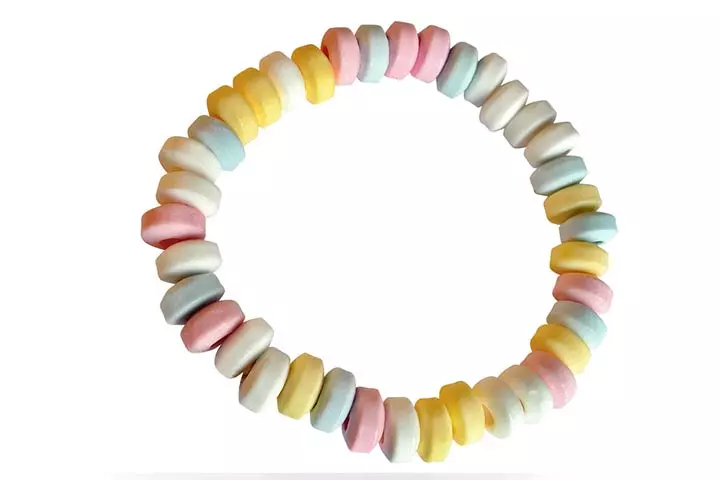
Materials needed
- Threads
- Candies with holes
How to
- Pass a thread through the holes of the candies and tie it on your child’s hands.
- That’s it! Your candy bracelet is ready.
11. Painting with seashells or vegetable cuttings
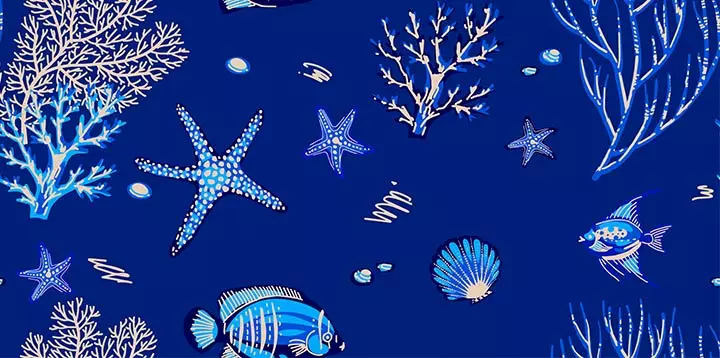
Materials needed
- Shells
- Vegetable cuttings shaped like sea elements
How to
- Dip them in paint, and emboss them on the canvas.
- You could also use small stones or pebbles for this craft.
12. Cardboard handbags
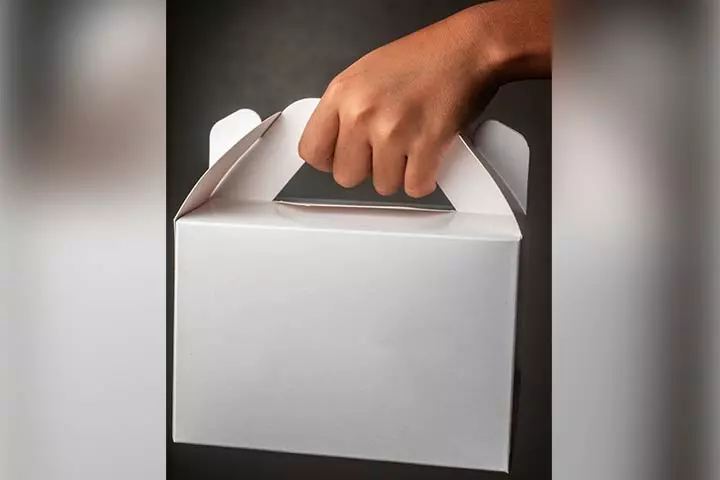
Materials needed
- Cardboard
- Glue
- Colorful ropes
How to
- Cut and fold the cardboard into the shape of a bag, and glue it together.
- Pass a rope through the corners of the bag to make the handle. The eco-friendly bag is ready.
13. Party necklaces
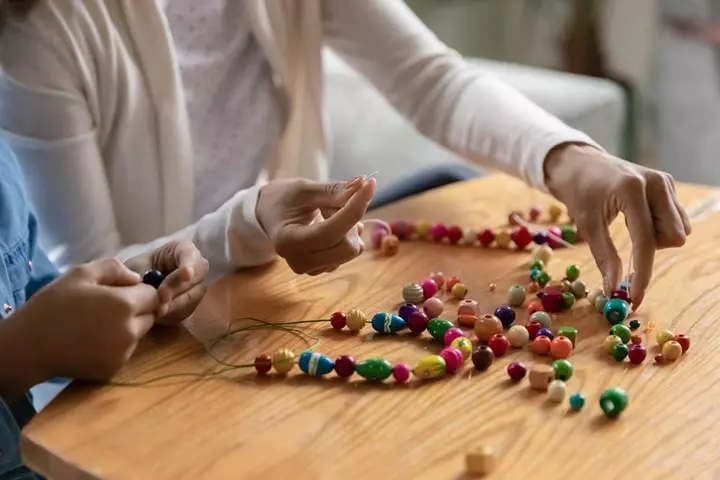
Materials needed
- Strings
- Beads or paper cuttings
How to
- Thread the string through the colorful beads, and your necklace is ready.
- Tie this to the child’s neck, and let them flaunt it during the party.
 Quick tip
14. Photo booth props
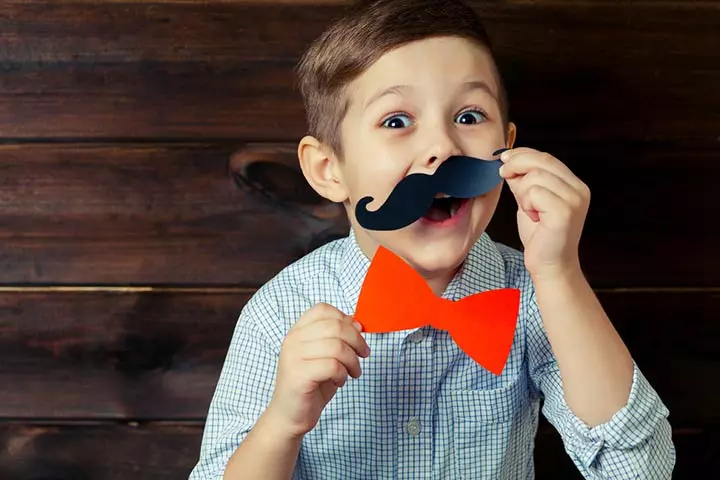
Materials needed
- Colorful paper
- Scissors
- Bamboo skewers
- Tape or glue
How to
- Cut out props such as mustaches, bow ties, goggles, and hats from the colorful paper.
- Stick the props onto bamboo skewers with glue or tape.
- Pose for photos using these handmade photo booth props.
Lindsay Weirich, a mother and art teacher, shares how she used a fun party craft in her twin daughters’ 8th birthday celebration. She writes, “I wanted the girls to make some cute photo props that they could pose with and also take home with them… I stocked up on sequins, rhinestones, glitter, and feathers at the craft store…and placed them in cute bowls around the craft table… I manned the hot glue gun and helped the girls put the bamboo skewers on the backs of the masks, mustaches, and crowns. I had lots of glue sticks and sticky squares on the table for the kids to help themselves to… After the props were finished, the kids got to sit outside in the “photo booth” to have their picture taken with their creations! (i)”
15. Socks dolls
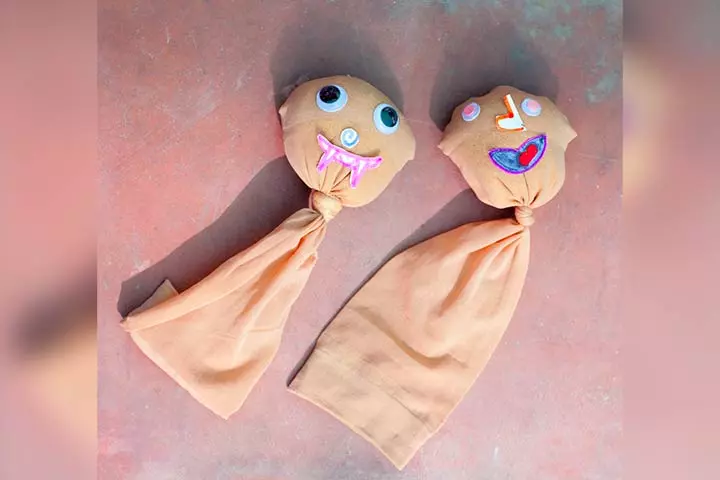
Materials needed
- Colorful socks
- Cotton stuffing
- Elastic rubber bands
- Markers
- Beads or googly eyes
How to
- Stuff the socks with some cotton stuffing, and tie them with the elastic rubber bands. Next, draw the eyes, the nose, and the mouth over it with markers to create the doll.
- You can also add googly eyes or use beads for the eyes.
16. Fairy wand
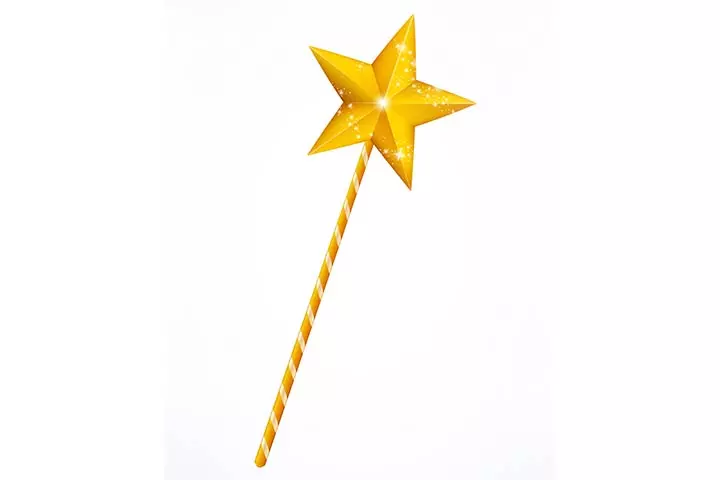
Materials needed
- Golden or silver paper
- Ribbons
- Glue
- Sticks
How to
- Make an origami star using golden/silver paper.
- Glue the star to the stick.
- Add some ribbon strands for a dreamy appearance.
17. Paper pinwheel
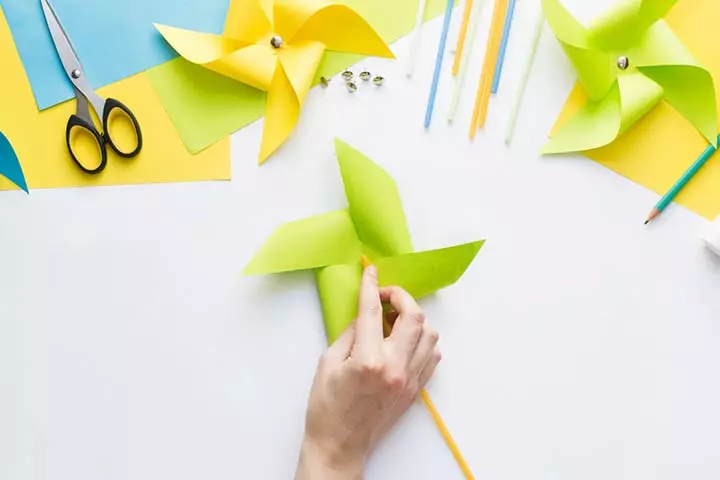
Material needed
- Colorful papers or newspapers
- Pins or glue
How to
- Fold the paper and pin it or glue it at the center, as shown in the image.
- You could refer to some easy YouTube tutorials on how to fold a paper pinwheel.
- Glue the pinwheel to the stick and play with it.
18. DIY scrapbook
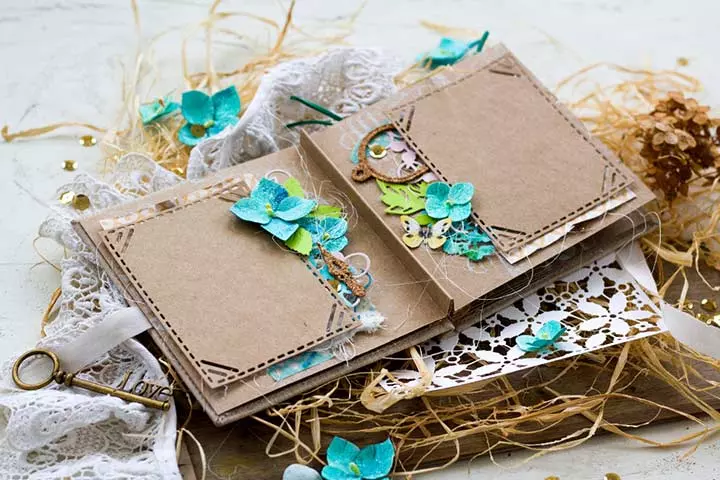
Materials needed
- Colored sheets of paper
- Scissors
- Markers
- Stickers
- Glitter
- Glue
How to
- Glue the stickers to each sheet.
- Write special messages, or draw some cute characters or smileys at the corners of each sheet.
- Glue all the sheets.
- Let children use this scrapbook to write special memories or friendship messages.
19. Fabric painting
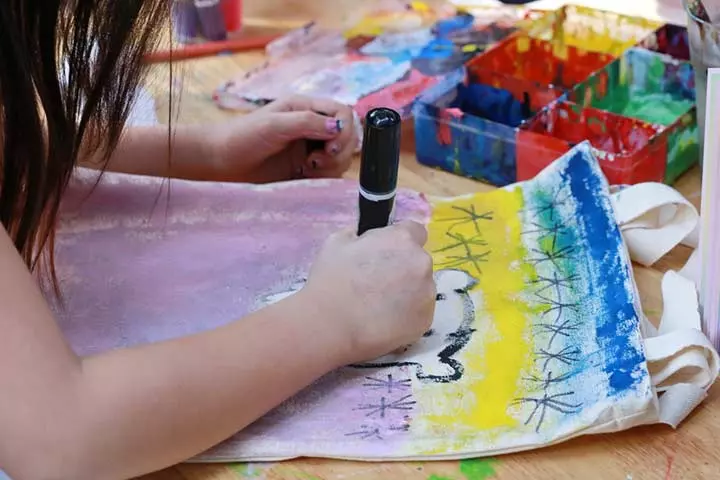
Materials needed
- Fabric paint
- Brushes
- Fabric, such as old t-shirts, cloth bags, or pillow covers
How to
- Let children get creative and draw and paint on the fabric.
- They can wear the hand-painted tees and use the bags for shopping.
- They can also draw cartoons or write messages or quotes on the fabric.
20. Gingerbread house
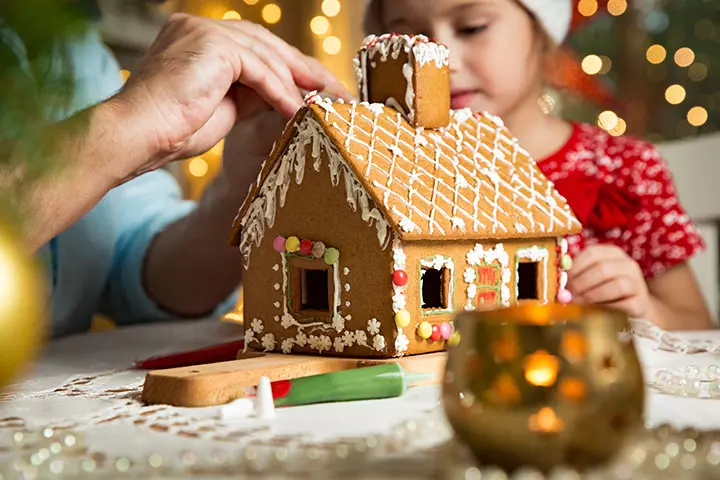
Materials needed
- Brown and white construction paper
- Cardboard
- Scissors
- Glue
- Markers or crayons
How to
- Cut out the shapes of the gingerbread house from brown construction paper, including rectangles for the walls and triangles for the roof.
- Use glue to attach the gingerbread house pieces to the cardboard base. Create the structure by gluing the walls and roof in place.
- Cut strips or shapes from white construction paper to represent icing. Glue these pieces onto the edges of the gingerbread house walls and roof to create the look of icing.
- Use markers or crayons to add details to your gingerbread house.
- Once the craft is dry, display it as a festive decoration in your home.
Frequently Asked Questions
1. What safety considerations should be taken when setting up party crafts for children?
Ensure that you use non-toxic and age-appropriate materials. Children must use scissors and other sharp objects under adult supervision. Give clear instructions to the child before an activity to reduce the risks of mistakes and hazardous situations.
2. Are there any age restrictions for party crafts for children?
There are no age restrictions for party crafts for children. You need to only ensure that the activity is age-appropriate to prevent safety hazards. Picking the right craft activity based on the child’s age also ensures they enjoy it the most.
3. Do I need to hire a professional to help with party crafts for children?
There is usually no need to hire a professional artist for these activities. However, if the activity is complex, it may be helpful to hire a professional. For instance, crafts involving pottery can be best enjoyed under the guidance of a professional. You may decide based on the craft activities chosen.
4. What are some tips for creating a successful birthday party crafting experience?
Set up a designated craft area to minimize mess and distractions, and arrange for materials in advance to keep the party flowing. Encourage collaboration by pairing younger children with older ones for certain crafts. Lastly, decide what to do with the finished crafts, whether they’ll serve as party favors or decorations.
Crafting helps in developing fine motor skills. It also teaches children about different shapes, colors, and patterns and helps them develop pattern recognition. Since most children love craft activities, you can use these party crafts for kids at your child’s next birthday party. However, adult supervision is essential, especially for younger children, since they may use glue, scissors, beads, and glitter. So pick interesting craft ideas from the list above, play upbeat music, arrange exciting games like hitting the pinata or face painting, and pick fun birthday cakes for kids to make the party an overall hit among the children.
Infographic: Tips On Organizing A Craft Party For Children
DIY crafts can be a unique and exciting way to keep your children entertained and allow them to be creative. A craft party requires some planning to go smoothly without making it into an assignment. So here is the checklist to follow while arranging the party for your child(ren) and their friends.
Some thing wrong with infographic shortcode. please verify shortcode syntax
Illustration: Easy DIY Birthday Party Crafts For Kids With Images
Image: Dall·E/MomJunction Design Team
Let’s get creative! Check out this fun video on Crafts for Kids – perfect for kids’ birthday parties! Enjoy fun projects that make celebrations even more special and truly memorable.
Personal Experience: Source
MomJunction articles include first-hand experiences to provide you with better insights through real-life narratives. Here are the sources of personal accounts referenced in this article.
i. Want Some Whimsy?https://thefrugalcrafter.wordpress.com/tag/party-crafts/
References
- Bo Zhang et al.; (2025); The effects of art therapy interventions on anxiety in children and adolescents: A meta-analysis.
https://pmc.ncbi.nlm.nih.gov/articles/PMC11260852/ - Crafting Confidence in Children.
https://playgroupsa.com.au/publications-blog/crafting-confidence-in-children-210.html - Farida Mayar; (2025); Developing Children’s Creativity Through the Art of Crafts.
https://www.researchgate.net/publication/361636139_Developing_Children’s_Creativity_Through_the_Art_of_Crafts
Community Experiences
Join the conversation and become a part of our nurturing community! Share your stories, experiences, and insights to connect with fellow parents.
Read full bio of Catherine Mok
Read full bio of Nisha Bharatan
Read full bio of Harshita Makvana
Read full bio of Vaswati Chatterjee


