
Image: Shutterstock
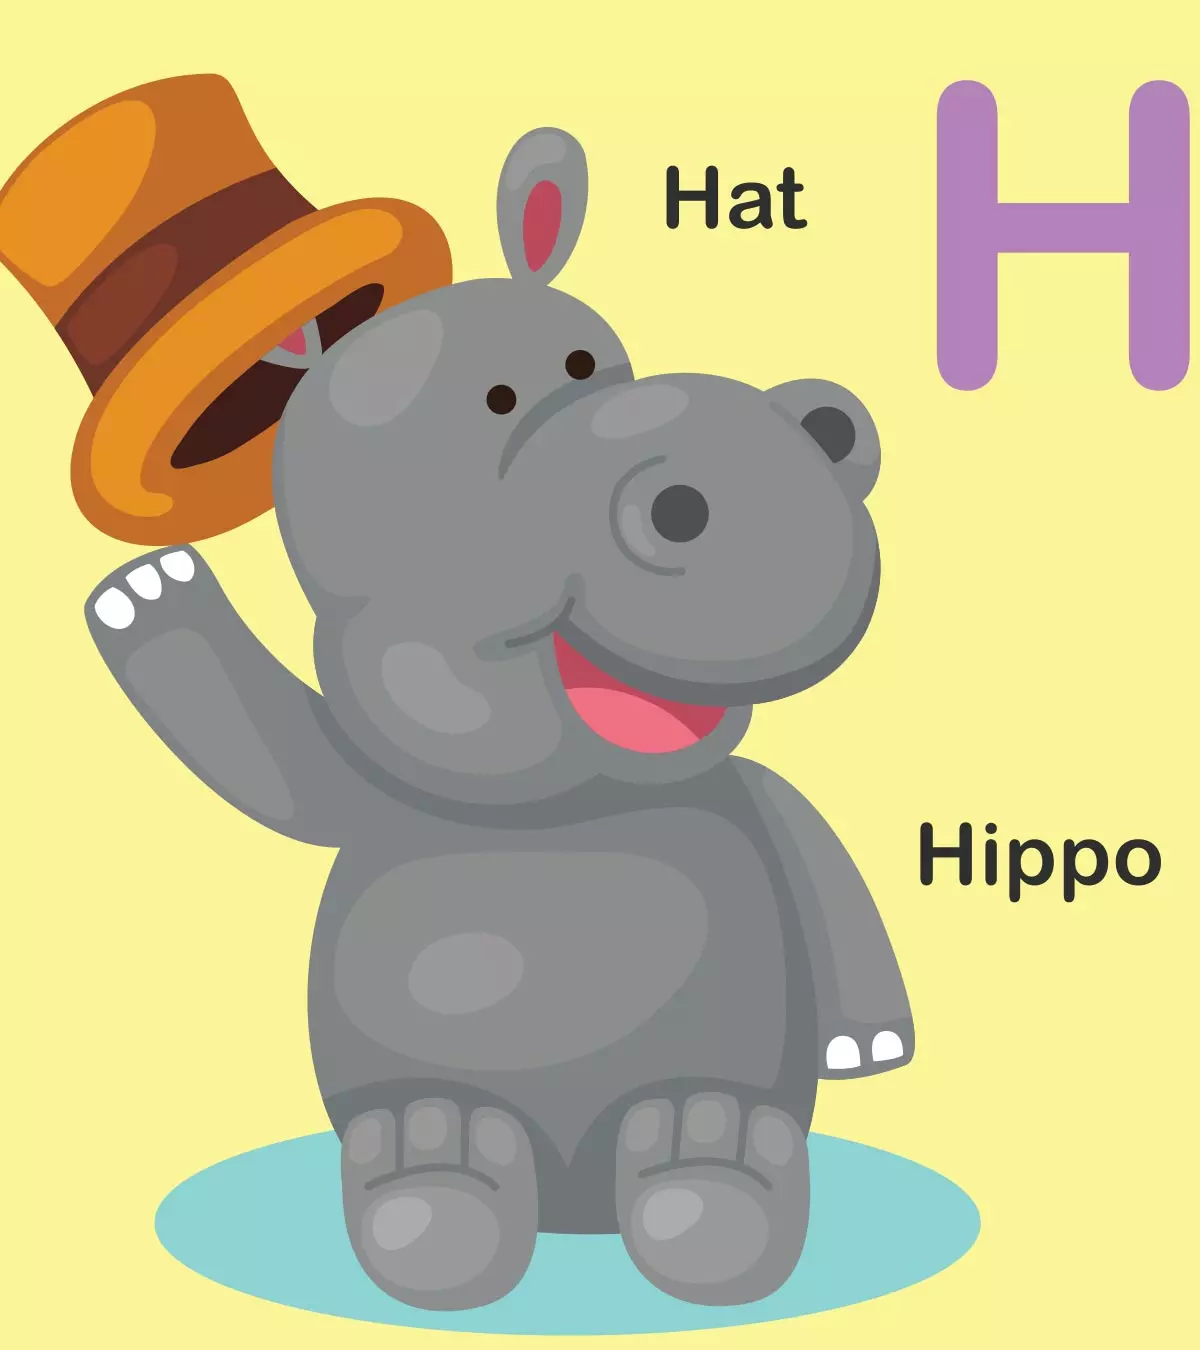
If you have taken your preschooler to a zoo, one animal that would make his jaws drop is the hippopotamus. Its gigantic size leaves your kid awestruck. But his fascination would not end there. Be prepared for him to carry his memories home, and ask you for a hippo toy. Instead of buying one in a toy store, why not do something different this time?

Help your preschooler make hippopotamus by himself. At your wits end? Don’t be, as MomJunction brings you ten hippo crafts. Select one to begin with.
Top 10 Interesting Hippo Crafts For Preschoolers
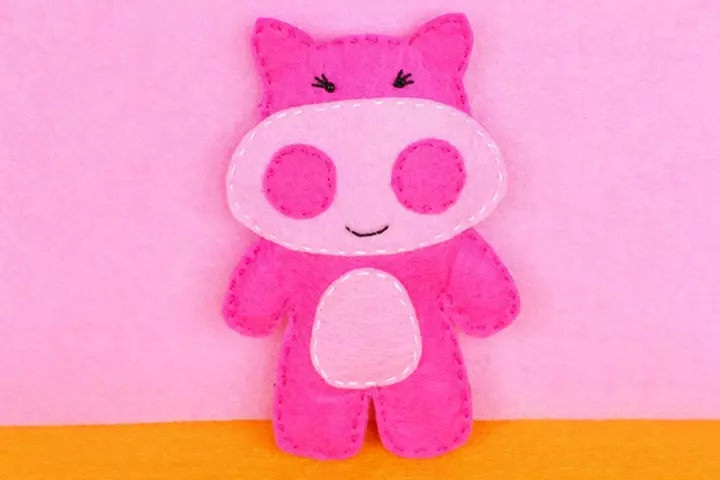
1. Pink Felt Hippo Craft:
Image: Shutterstock
You Will Need:
- Pink and light pink fabric
- Black, white, and pink threads
- Toy stuffing
- Pencil
- Needle
How To:
- Give your preschooler a lengthy sheet of pink cloth, fold it half, and guide her to draw an image of a hippo on the upper layer of the folded fabric. Draw head, ears, body, and four legs of the animal as you see in the image.
- Use scissors and cut the hippo’s image out of the fabric so that you will have two identical fabric pieces of hippo’s shape. Place the two fabric hippo pieces on each other and sew them using a pink thread. Leave a small gap.
- Fill the fabric craft with toy stuffing material through the gap and stitch the hole.
- Cut an oval mouth out of the light pink fabric and sew it on the face of the hippo.
- Use black thread and sew on two black eyes and mouth of the hippo as you see in the image.
- Decorate the hippopotamus craft by sewing two small pink fabric circles as rosy cheeks and a small light pink piece of fabric as the tummy of the animal.
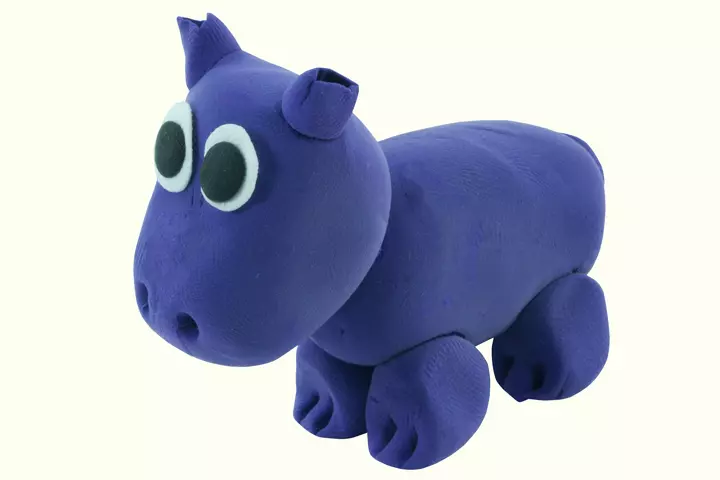
2. Clay Hippo Craft:
Image: Shutterstock
You Will Need:
- Lot of blue colored clay
- White and black clay
How To:
- Give your preschooler a lot of blue clay and help her shape out a hippo out of it. Develop the body, four legs, a big mouth, two ears, and two nostrils of the animal from the clay.
- Create two big circles out of the white clay and two smaller circles out of the black clay and place them on the face as the hippo’s eyes.
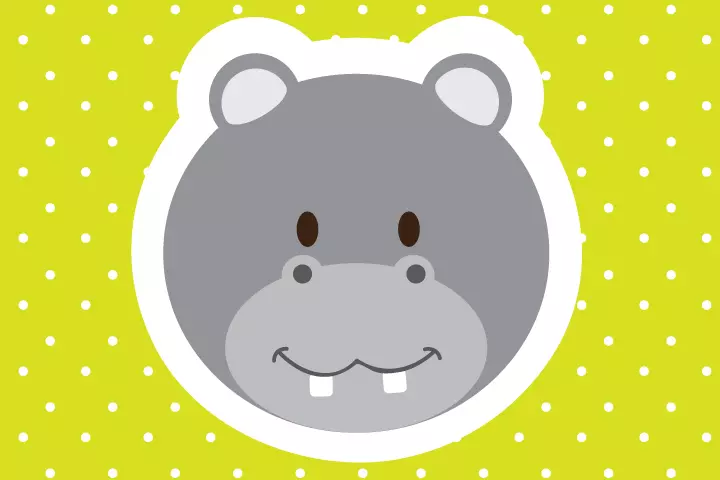
3. Paper Plate Hippo Craft:
Image: Shutterstock
You Will Need:
- One paper plate
- Pencil
- Scissors
- Dark grey, white, black, and light grey food color
- Paint brush
How To:
- Draw the face and two ears of a hippo on the paper plate by using a pencil. Cut out the hippo’s face out of the plate with the help of scissors.
- Paint the entire paper plate in dark grey by using food color and a paint brush.
- Use light grey food color and define two ears and big mouth on the plate.
- Create a pair of eyes by using black paint.
- Use white food color and create teeth of the hippo and your paper plate hippo is ready.
- You can tie threads at the sides of the plate and use the hippo craft as a mask.
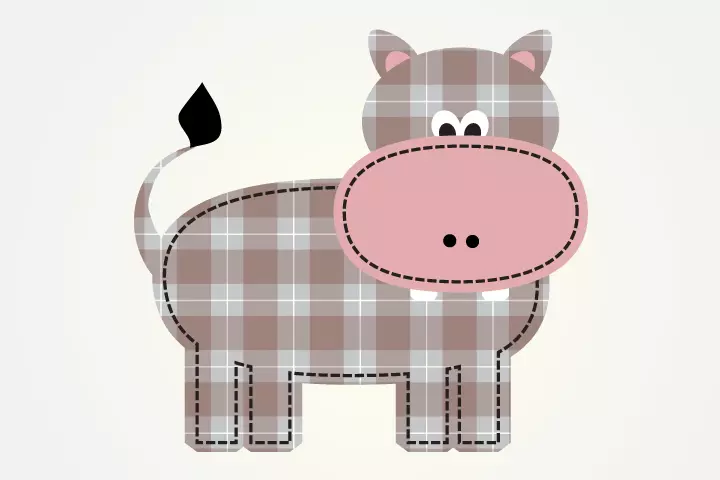
4. Patchwork Hippo Craft:
Image: Shutterstock
You Will Need:
- Checkered white and grey fabric
- Rags of pink and white colors
- Pencil
- Scissors
- Black thread
- Needle
- Four black buttons
- Black wool tuft
- Glue
How To:
- Provide your kid a lengthy checkered fabric and guide her to draw an image of a hippo on it with the help of a pencil. The image should comprise the head, two ears, body, four legs, and tail of the animal.
- Cut the hippo’s picture by using scissors.
- Cut a large oval mouth of the hippo out of the pink rag and stitch it on the face of the checkered hippo.
- Stitch two black buttons and create two nostrils on the mouth of the animal.
- Cut two small circles out of the white fabric and sew them on the face as the eyes of the hippo, sew two black buttons on them as the eyeballs.
- Define the ears by stitching small pieces of pink rags.
- Cut the teeth of hippo out of the white cloth and sew them at the bottom of the mouth.
- Glue the black wool tuft at the end of the tail to complete the patchwork hippo craft.
5. Hippo Bookmark Craft:
Image: Shutterstock
You Will Need:
- A long strip of cardboard
- Pencil
- Scissors
- Black marker
- Pink and white food color
- Paint brush
How To:
- Provide your preschooler a long cardboard strip and help her to draw an image of hippo’s face on it.
- Outline the round face, two ears, and an oval mouth of the hippo and cut out the upper part of the face by using the scissors such that it helps define the hippo’s face, ears, and mouth at the top of the bookmark.
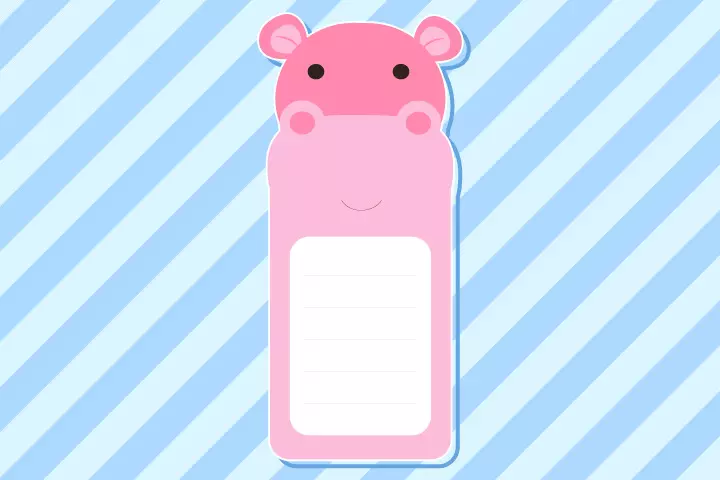
- Paint the hippo’s face and strip pink by using food color and a paint brush.
- Define inner eyes and mouth by painting them in light pink color.
- Create two eyes and mouth of the hippo with the help of a black marker and your hippo bookmark is ready.
6. Cookie And Cream Hippo Craft:
Image: IStock
You Will Need:
- A big piece of brown cookie
- Knife
- Dark brown cream cone
How To:
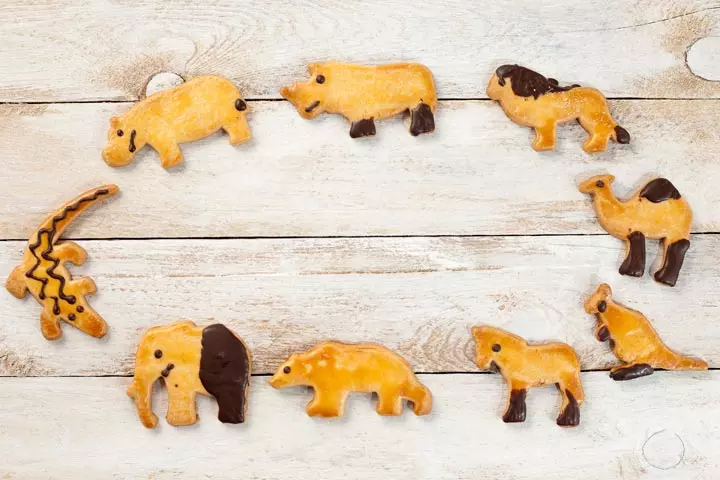
- Provide your preschooler a big piece of brown cookie and help her draw an image of a hippo on it by using a brown cream cone. Create a mouth, two ears, four legs, body, and tail.
- Use a knife and cut the hippo’s image out of the cookie.
- Use a dark brown cream cone and create an eye and define the mouth, legs, and tail of the hippo.
7. Easter Egg Hippo Craft:
Image: IStock
You Will Need:
- One white plastic egg
- Grey cardboard
- Black marker
- Scissors
- Glue
- Food colors such as green, red, pink, blue, white, yellow, and orange
- A paint brush
How To:
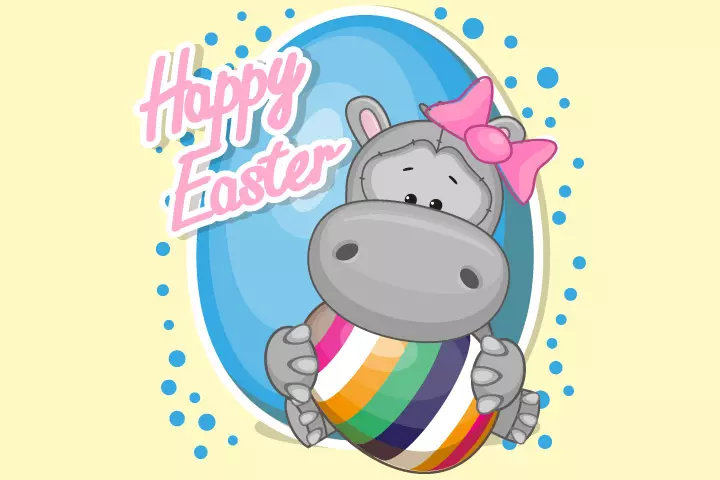
- Use a paint brush and various food colors to paint colorful strips on the entire white plastic egg.
- Place the painted egg on the table such that it represents the body of the hippo.
- Now, draw the head, an oval-shaped mouth, and four legs on a grey cardboard by using a pencil and cut it out with the help of scissors.
- Glue the head on top of the egg and oval mouth on the face. Stick the four legs on the sides of the egg hippo i.e. two on each side and the craft is ready.
- Use a black marker to create two eyes and two nostrils on the face of the hippo.
8. Cardboard Hippo Craft:
Image: IStock
You Will Need:
- A hippo template
- A large sheet of cardboard
- Pencil
- Scissors
- Colorful sketch pens
- Glue
How To:
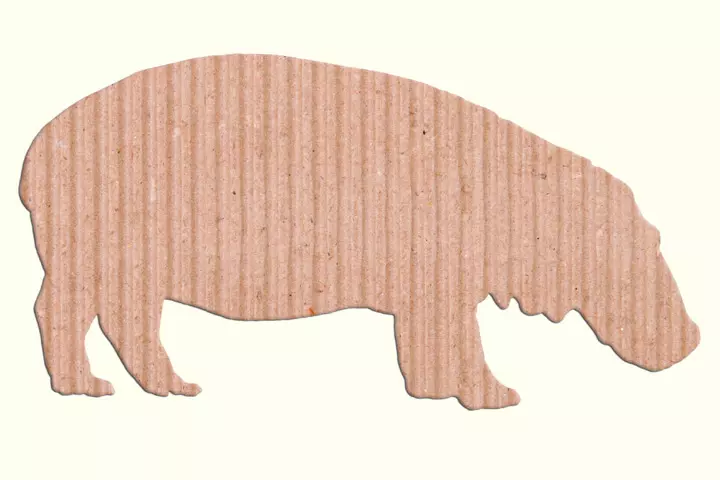
- Place the template of a hippo on a big cardboard sheet, and guide your preschooler to trace an image of a hippo on the cardboard by using a pencil. Trace head, ears, body, four legs, and tail of the animal.
- Help your kid to cut the hippo image out of cardboard by using scissors.
- You can decorate the cardboard hippo craft by coloring it. Apply glue on its back, and stick it on the door of your refrigerator.
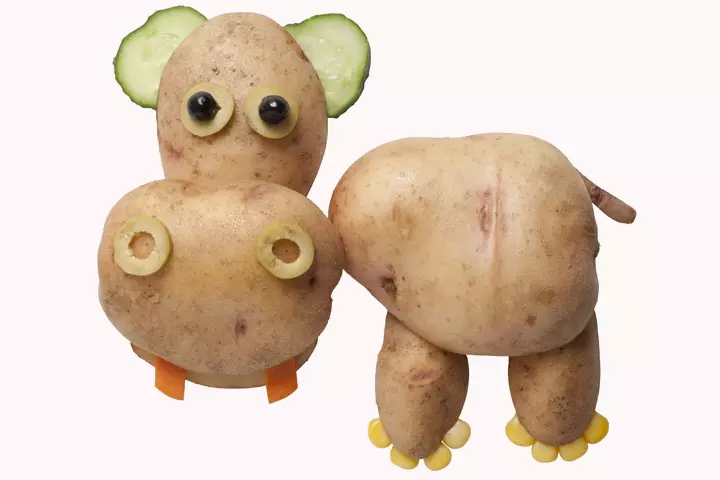
9. Potato, Cucumber, And Corn Hippo Craft:
Image: Shutterstock
You Will Need:
- Three large potatoes, two lengthy potatoes, and one small potato
- Peeler
- One cucumber
- Several corns
- A carrot
- Two small blackberries
- Knife
- Glue
How To:
- Place one big potato horizontally on the table such that it represents the body of a hippo.
- Place another big potato in the front of the body in vertical position such that it represents the head or face of the hippo. Keep the third potato at the bottom face horizontally such that it represents the big mouth of the hippo.
- Place two lengthy potatoes vertically at the lower part of the body such that they represent hippo’s legs. Glue four corns on the bottom end of the legs to define the feet of the animal.
- Use a potato peeler and peel the skin off the small potato. Place a strip of skin at the rear end of the body of potato hippo as its tail.
- Use a knife and cut two rings and two round slices out of the peeled potato. Place two rings on the big mouth of the hippo as its nostrils. Keep two round slices on the upper part of the hippo’s face and two blackberries on the slices and create two eyes of the animal.
- Cut two round slices out of the cucumber and place them on the top of the head of the animal forming its two ears.
- Cut two elongated slices out of a carrot and place them at the bottom of the mouth of the hippo as its teeth.
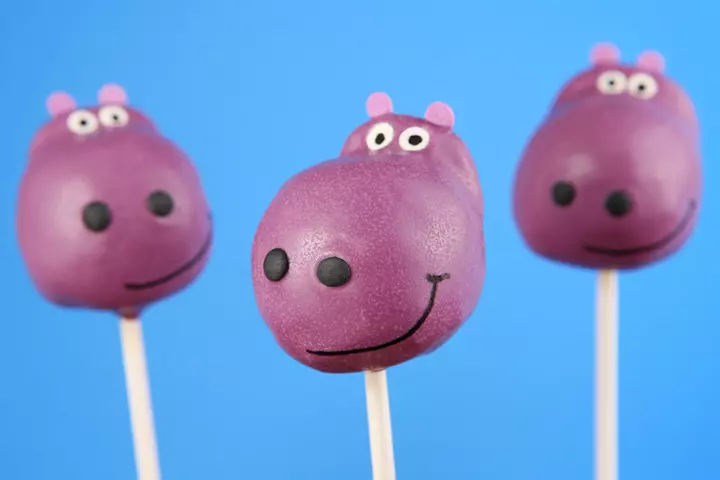
10. Hippo Cake Pops:
Image: IStock
You Will Need:
- A piece of cake
- Knife
- Sticky chocolate
- One lollipop stick
- Pink, white, and black cream cones
How To:
- Provide your child a piece of cake and knife and help her out to cut an oval shape out of it.
- Coat the cake ball with sticky chocolate, fix it on the top of a lollipop stick, and your cake pop is ready.
- Use white and black cream cones and create two eyes on the cake pop.
- Use pink cream cone and develop two ears at the top end of the cake pop.
- Make the mouth of the animal by using a black cream cone and your hippo cake pop craft is complete.
Children adore hippos for their gigantic size. Also, many cartoons and animation films have made hippos famous among children. If your child is fascinated by hippos, we hope this list has further sparked their interest. Only a few basic art supplies are required for the hippo crafts mentioned in this post. We’ve included crafts made from various materials, including felt, clay, textiles, and so on. Simply grab these items for your kids and let their imaginations run wild as they create the hippo of their dreams.
Community Experiences
Join the conversation and become a part of our nurturing community! Share your stories, experiences, and insights to connect with fellow parents.
Read full bio of Manjiri Kochrekar

